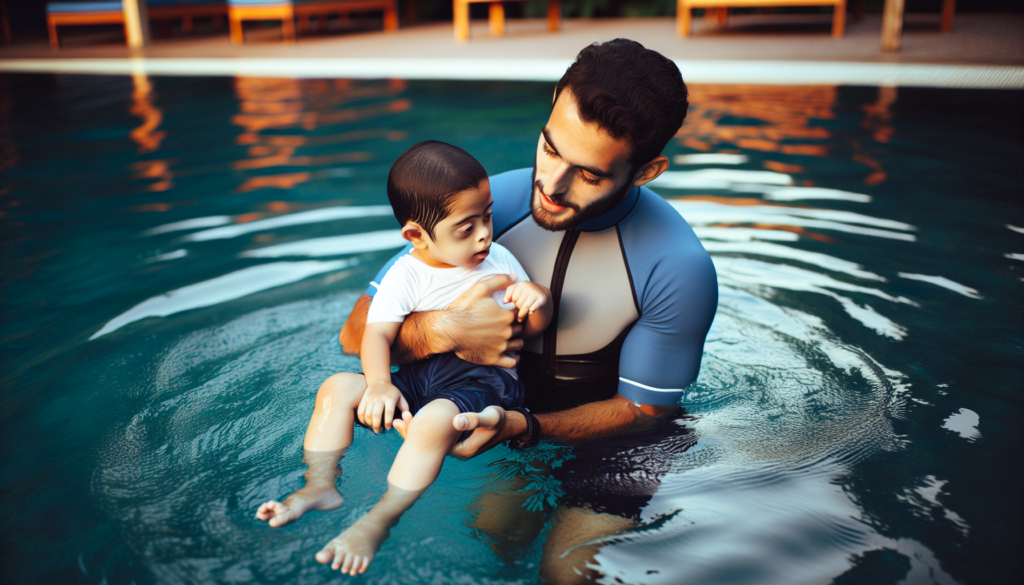
To begin the journey to help your child overcome his fear of water, he needs to start with being able to put his face in the water. And he’s not
 going to want to try to put his face in the water if he’s not comfortable with having water poured down his face like this little guy in the video. (Also if he can’t even dip a toe in the water yet, start here.)
You’re going to want him to be as comfortable and relaxed as possible. The following steps work well for children that are at least four years old. If you don’t have access to a pool, a bathtub works just as well.
November 2018 update: I originally wrote this blog post in 2016, and while it still holds up for children 4-years-old+, I have since discovered another fantastic approach in my continued research to fixing water anxiety. And not only is this technique extremely effective for this age group, but it is also just as persuasive and motivational for the 2-year-old+ child. I included a video to show you how easy it is to get your kiddo to put his face in the water and even without goggles and a nose clip. Click here.
(This post contains affiliate links. This means if you click on an affiliate link and purchase the item, we will receive an affiliate commission at no extra cost to you. Full disclaimer.) fear of water
Before you lure your child into the water you will need to be equipped with the following:
- Warm water – An ideal temperature should be somewhere between ninety and ninety-five degrees Fahrenheit.
- Patience – When helping your child, you may find that after a few unsuccessful attempts you may get frustrated and be tempted to shove your child’s face in the water. Fight the urge, or it will only prolong the process. Think to yourself, “what would __________ do?” Then fill in the blank with Mother Teresa, Gandhi or the Pope. This is the level of patience that I’m talking about.
- Objects that sink – Rings, torpedoes, and treasure are all great motivators.
- Goggles and a nose clip
- Patience – Did I mention this already? so fear of water
- Other pool or bath toys that float – These sea creatures, pond bath toys and ducks have no holes for water to get in and they’re all BPA, phthalates, and PVC Free.
- Patience – It needs repeating. so fear of water
Follow your child’s lead. Don’t force him to do anything he doesn’t want to do. Let him decide when he’s had enough.
Add some variety to the session. Include activities that will allow your child’s head to remain above the water. For example, you could have him practice kicking while sitting on the steps. If he’s comfortable enough to leave the steps, you can help him practice kicking while holding onto a noodle and maybe pick up floating objects like rubber duckies at the same time.
Each session should be no more than 30 minutes with about 20% of the time devoted to practicing putting his face in the water.
Time to Tackle That Fear of Water
Don’t move on to the next step until your child is completely comfortable and relaxed with the current challenge. This doesn’t apply to steps one or two.
1. Take a deep breath
Before entering the pool, have your child take a deep breath in, then let it out. Demonstrate this if you need to.
As an Instructor, I’ve had students that just won’t do this for me. It’s okay if they don’t. Just move on to step two.
2. Take a deep breath and hold it
Have him take another deep breath and hold it for a couple of seconds, then let it out. Again demonstrate this with your cheeks full of air. Say, “Look at my balloon face. Now you show me your balloon face.” If he won’t do it, it’s okay to move on to the next step.
From step three and beyond, each step will need to be mastered before continuing.
3. Putting the mouth in the water
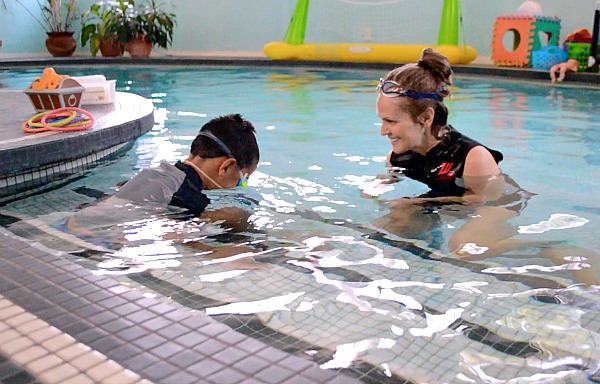
Have your child sit on the steps. (But if he can’t even sit on the steps of the pool with his feet in the water, then start here.) Now, instruct him to take a breath, hold it with his balloon face, keep his mouth closed and put it in the water, like so. It’s time for you to demonstrate. Keep your mouth in the water for 2 or 3 seconds.
Now it’s his turn. Encourage him to try this and to do it to the count of 2 or 3. Explain that when your mouth is closed tight, no water can get in. He may do it without hesitation. If this is the case, move on to step 4.
If he doesn’t want to do it, ask him if he can get his chin wet. He might scoop up the water in his hand and bring it up to his chin, or he might just dip his chin in the water.
Now it’s time to play a little game with the objects that sink. You can create your own game or try these. Don’t overdo it. Somewhere between three to ten attempts at the most. It all depends on the child.
Remember to follow his lead and stop when he’s had enough. Now it’s time for step four.
4. Putting the mouth and nose in the water
When children first learn to put their nose in the water, they don’t always do a great job of keeping the water out of the nose. Show your child how you can hold your nose closed with your thumb and index finger.
Now take a breath and hold it, then put your mouth and nose in the water for 2 or 3 seconds. Encourage your child to do the same, even if it’s just for a split second.
Your child may not want to hold his nose closed. This is where you introduce the nose clip. If he resists it, put the nose clip on yourself and demonstrate how it does such a good job of keeping the water out of your nose. If he still resists, then it’s time to motivate him with these games.
When he can put his mouth and nose in the water for 2 or 3 seconds, it’s time for step five.
5. Putting the whole face in the water
You made it through the most challenging parts. The mouth and the nose. Time to put the whole face in the water.
Demonstrate this first. Close your eyes tight, take a breath and hold it with your balloon face, then put your whole face in the water for 2 or 3 seconds.
Encourage your child to do the same with his balloon face, even if it’s just for a split second. If he resists, introduce the goggles.
Demonstrate with the goggles. Ensure your child that the goggles do a great job of keeping your eyes dry. If he continues to resist, it’s time to break out the motivational games.
Keep practicing until your child can put his whole face in the water for at least 10 seconds, but don’t overdo it. It won’t necessarily all happen in one practice session.
Remember to be patient. Every child is different and has varying levels of fear.
Some of my students have been able to accomplish this by the end of their first 30-minute lesson. Other students have taken between 4 and 10 lessons before they can put their whole face in the water for at least 10 seconds consistently.
With His Face in the Water, He’s One Step Closer to Conquering His Fear of Water
Now that he can put his whole face in the water, he’s well on his way to conquering his fear. But your child might regress. It happens all the time. One day he can put his face in for 10 seconds, the next time it’s 5 seconds. Don’t worry. Just keep practicing. He’ll reach his goal of 10 seconds or more in his own time. And when he does, he will be ready to learn how to front float.
