Before you teach your child to glide through the water, make sure she can put her face in the water for at least ten seconds, front float for at least five seconds independently, back float for at least ten seconds unaided, and roll and retrieve objects from the bottom — before teaching her to propel or glide through the water.
This post contains affiliate links. If you click an affiliate link and purchase the item, I may receive a small commission at no extra cost to you.
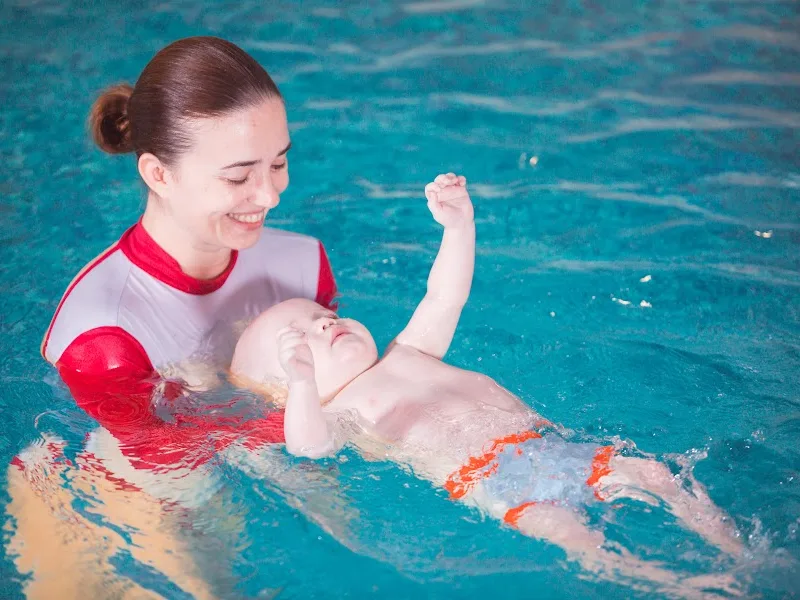
If she's ready, you can start with floating face-down in a streamlined position.
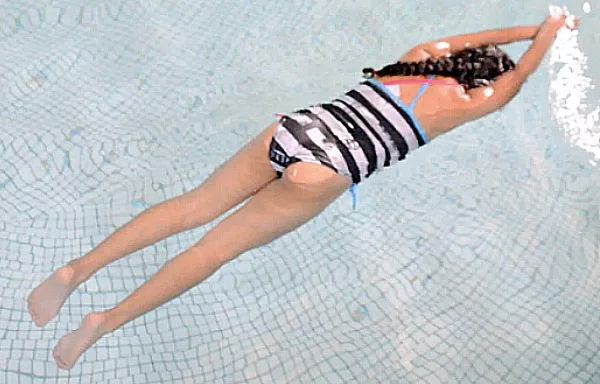
Floating face down in a streamlined position
To accomplish a streamlined position, have your child stand with her legs together and straight. For the arms, I always tell my students to "superglue your arms to your ears," then, while reaching up to the sky, place one flat hand in front of the other.
Holding this position, have her bend at the hips, hold her breath, put her face in the water, and stretch her legs behind her, pointing her toes. She should be floating in a straight line from her fingertips to the tip of her toes. Give her a gentle little push, have her float like this for five or more seconds, then stand up. The goal is to maintain a streamlined position for ten seconds.
Perfect practice makes perfect
Some children hold this position easily; others lose their balance. Either is fine — with practice, they'll maintain the correct position for the full ten seconds.
Have her try again, experimenting with the placement of her arms and legs. Move her hands apart — it might be enough to stabilize her. If not, open her legs slightly until she's balanced, all while keeping her head in a neutral position. By experimenting, children learn about buoyancy and their relationship with the water. The more relaxed she is, the easier it is to balance. Once she can do this for ten seconds, move on to the front glide.
Front glide
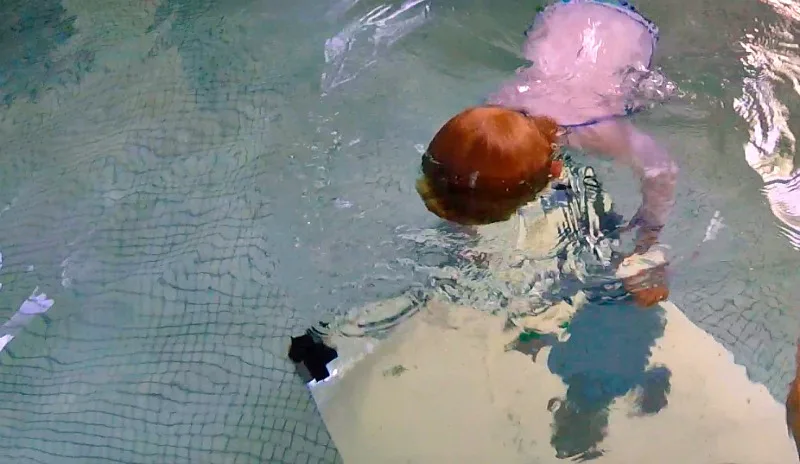
A front glide is when you propel through the water face-down in a streamlined position. Have your child assume the streamlined position while standing. Tell her to bend at the hips and knees, hold her breath, and put her face in the water. Place her feet on the wall, push off, and glide.
Some children won't bend at the hips and will just fall into it; others get the hips but won't bend their knees, so they can't push off. It's like jumping — have her stand on the bottom and jump as high as she can, then try from the wall. Sometimes it's easier to pick her up, place her feet on the wall, then tell her to put her face in and push off.
Now have her place her arms behind her ears (she'll need to tuck her chin to her chest). This is the standard streamlined-position arm placement, and it's essential — it lays the foundation for all swimming strokes. Don't underestimate the importance of the streamlined float: have her practice it every time, even after she's mastered it. Even Olympic swimmers make it part of their daily drills.
Front glide, then one pull
The purpose of a front glide then one pull is to show how far you can go with the least amount of energy. Have your child do a front glide, and when she feels her body slowing down, add a pull and see how far it takes her.
The pull is a sweep of both arms all the way around to her thighs — arms straight, hands flat, covering as much area as possible. Demonstrate the arm action out of the water first. She might start the pull too soon, lift her arms above the surface, or lift her chin — all of which slow her down. With practice, she'll do it beautifully. Swimming doesn't have to be exhausting: if you can get from A to B without being winded, you're probably doing something right.
Back glide
To glide on the back, have your child hold the wall or gutter, place her feet on the wall, put her head back in the water (looking up at the sky or ceiling), then gently push off. As soon as she lets go, make sure she "superglues" her arms to her sides, sticks out her belly button, and straightens her legs with her feet below the surface.
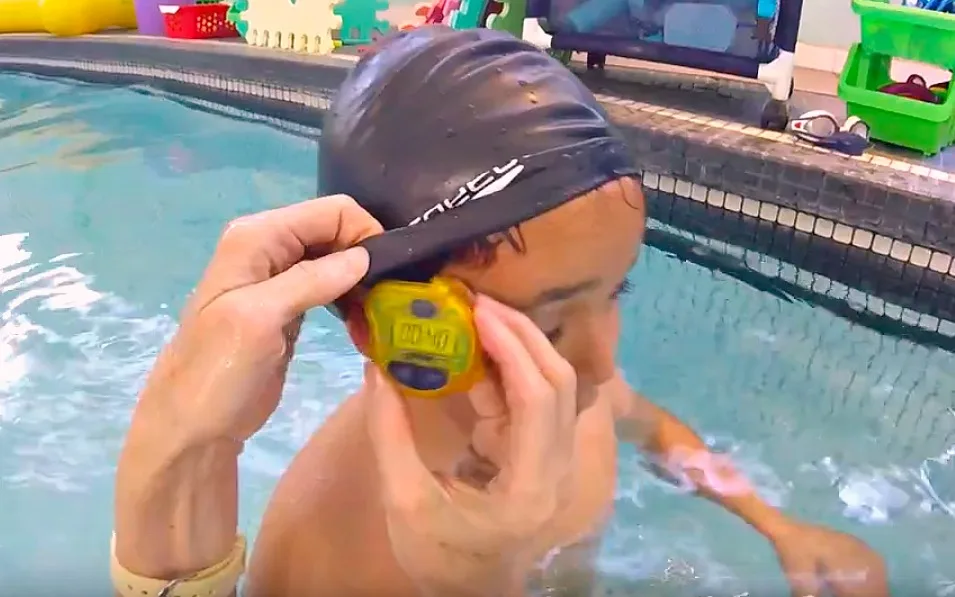
Use a nose clip when first learning this — some children push off too hard and their face goes under. I also tell my students to hold their breath. With practice, she'll figure out the right force. (For my speed demons who can't slow down, I tell them to move in slow motion, like an astronaut in space — works every time.)
She needs to be able to hold this for ten seconds, maintaining the perfect body position, before adding an arm action or kicking. The back glide is the foundation; if it's not solid, it won't hold up when you add an arm action too soon.
The duck, starfish, penguin stroke
This is a simultaneous arm action performed after a back glide. Have your child stand on the deck or in very shallow water with her arms at her sides.
- Drag her thumbs up against her sides to under her arms — the duck position (duck wings, "quack, quack").
- Form the letter "Y" with her arms — the starfish position.
- Keeping her arms straight, bring them back down to her sides, in line with her body — the penguin position.
Repeat the sequence a few times before trying it from a back glide. She might need a little assistance at first — support her head while she works out the movements. Encourage her to keep her hands submerged during the entire stroke. The sweep from starfish to penguin should be forceful with straight arms, and the penguin position should be held two or three seconds before repeating.
This is part of a formal stroke called the elementary backstroke — a "resting stroke" that takes minimal effort to cover tremendous distances. Mastering it is essential: being able to propel through the water with little effort while still breathing is a life-saving skill, and it should always be the go-to stroke when fatigued.
What's next?
If your child no longer needs the nose clip, it's time to learn breath control. If she still needs it, find out how to give up the nose clip, goggles, and ear protection. And if she's already mastered breath control, she's ready to conquer the deep end.
Want a head start? Get my free course — How to Prepare Your Baby for Swim Lessons (0–8 months).